
The Evolution of 1/6 Scale Tank Periscopes: From Paint to Real Mirrors
When working in small scales like 1/16, simple visual shortcuts are acceptable. A dab of reflective green paint (such as AMMO Mig Periscope Green) on a solid block of plastic is usually enough to fool the eye.
However, when scaling up to heavy 1/6 scale models, these paint shortcuts completely fall apart.
A real tank periscope is an optical assembly housing angled internal mirrors protected by thick ballistic glass.
To achieve authentic optical depth on a large-scale kit, we had to engineer a completely different solution.
Here is how our periscope design evolved over time – and where it stands today.
The 4 Stages of Periscope Design
Version 1: Silver Paint & Waste Plastic
- Method: The rear inner wall was painted silver, and the front lens was mimicked using thin, clear plastic cut from everyday product packaging or PET bottles.
- Verdict: Better than solid paint, but lacked real optical depth and mass.
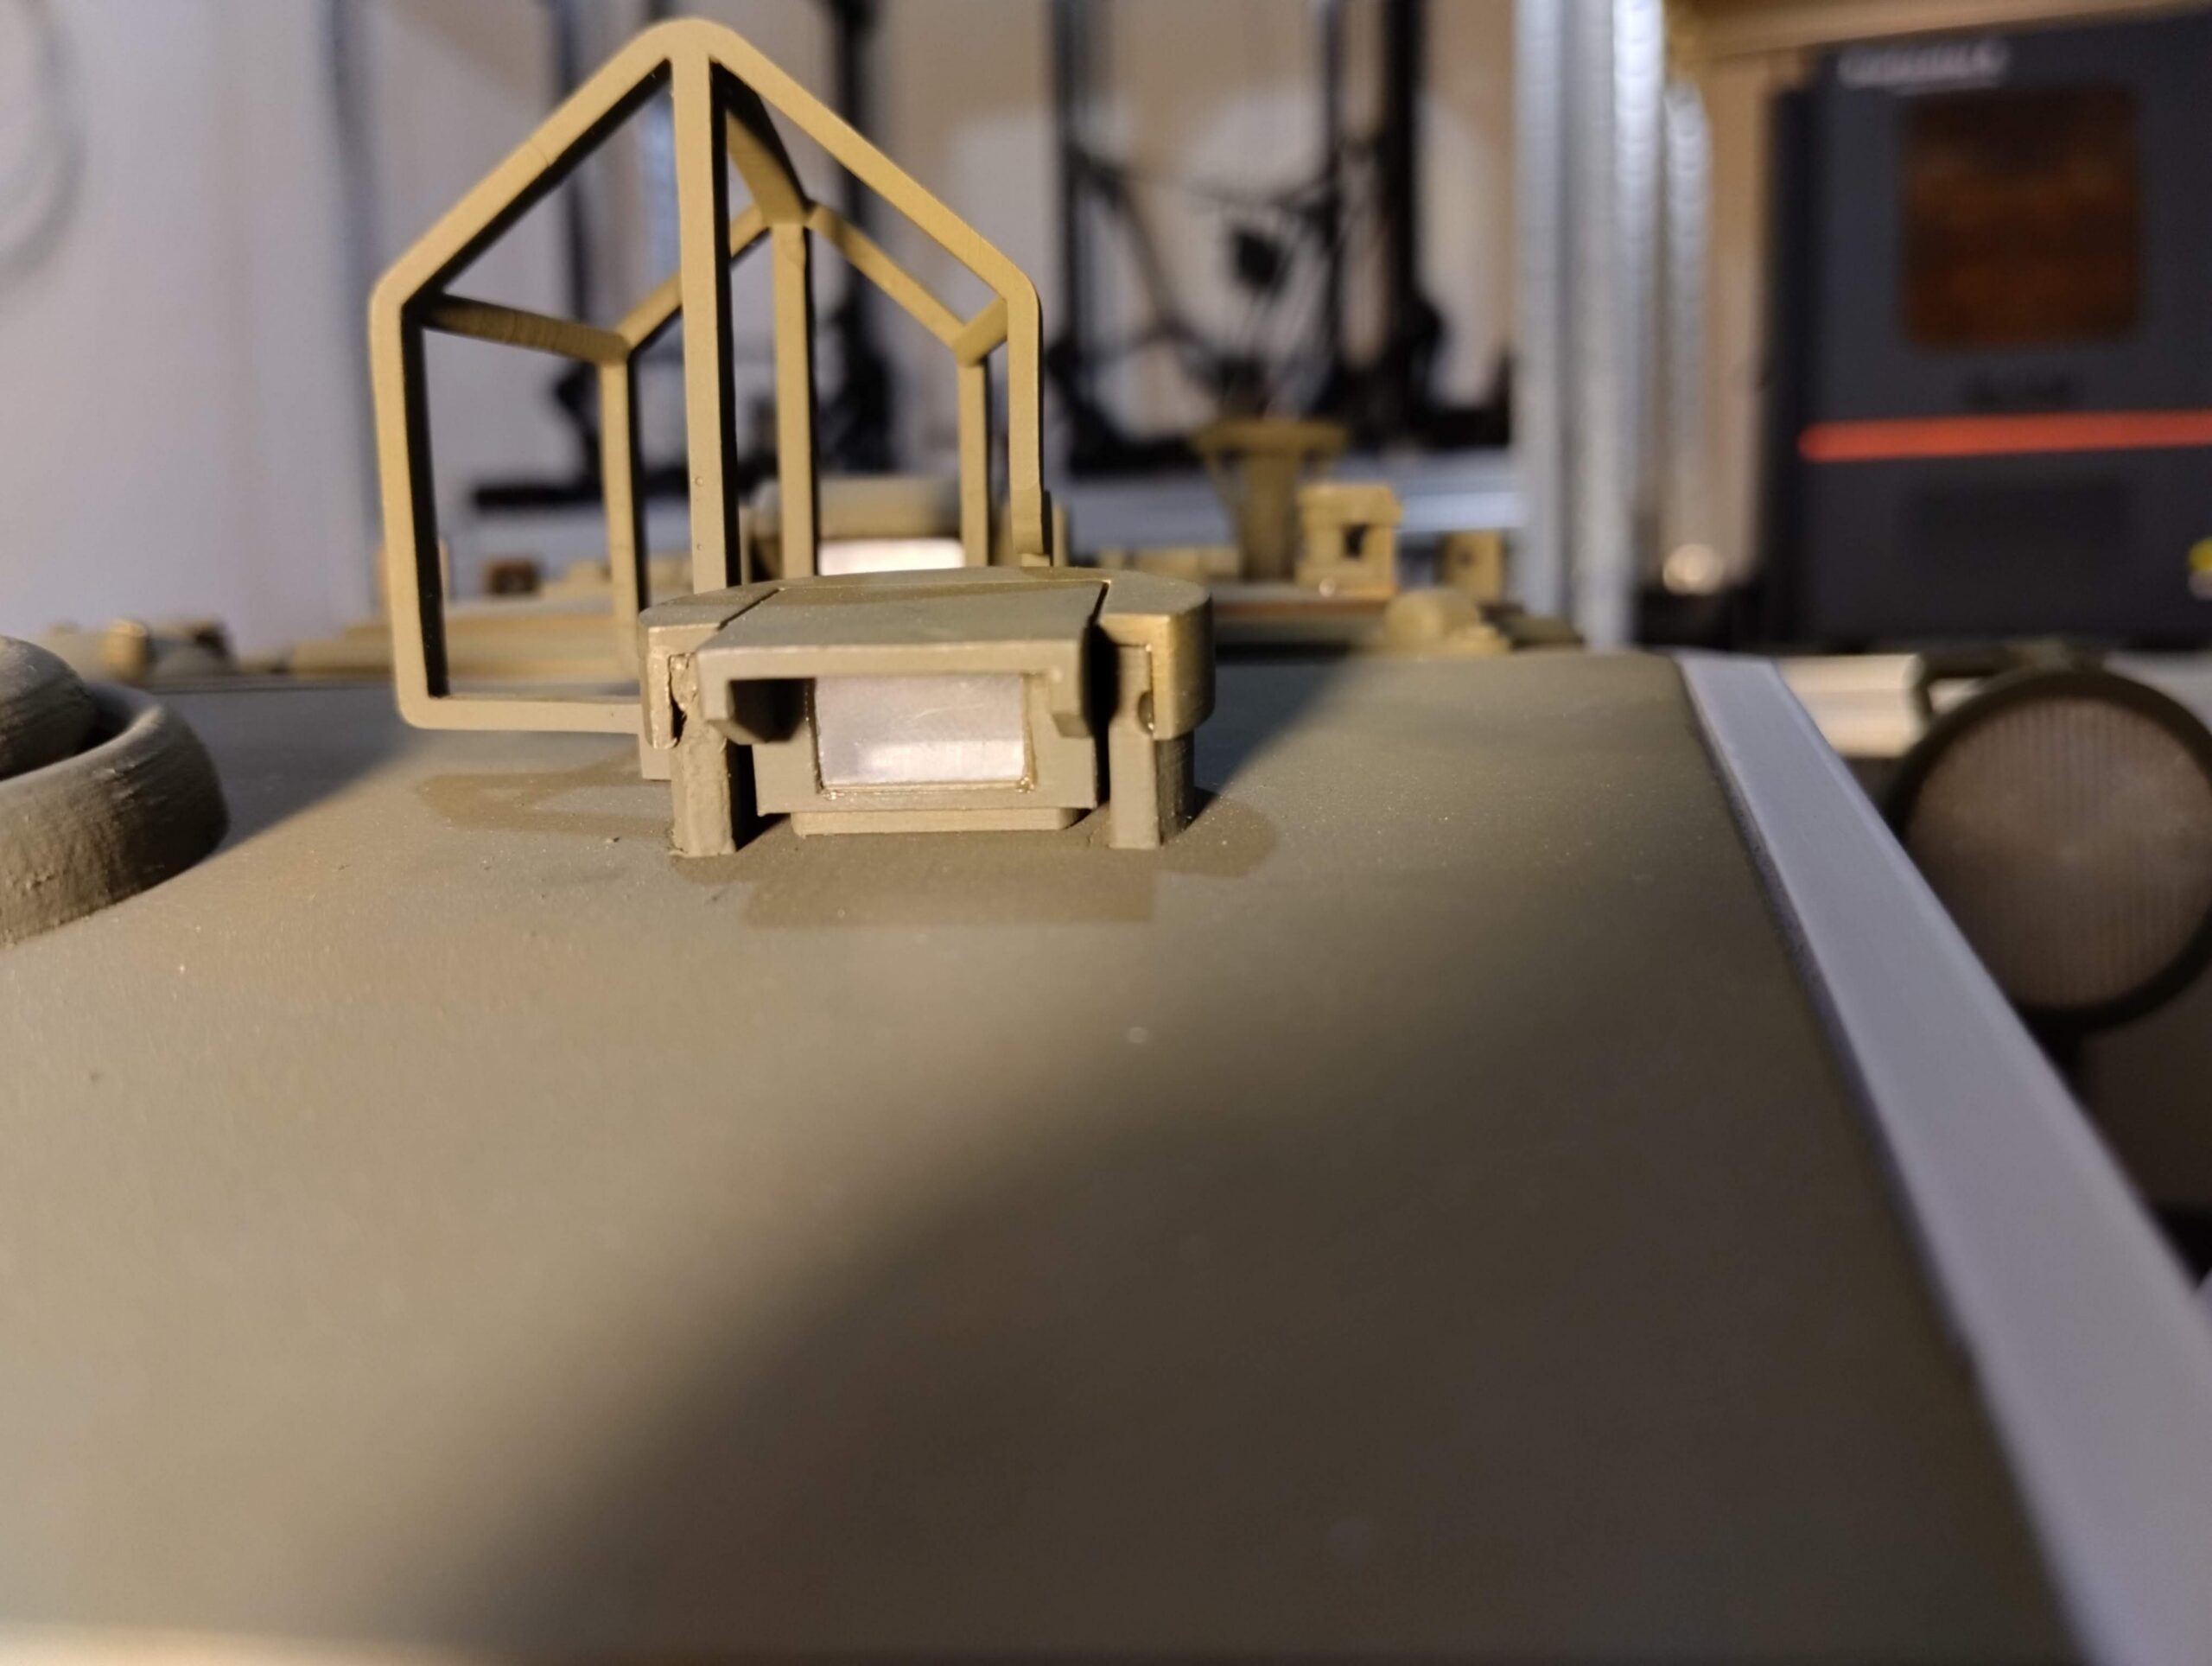
Version 2: Aluminum Tape Upgrade
- Method: Replacing the silver paint with high-tack aluminum tape behind the clear plastic film.
- Verdict: Slightly improved light reflection, but manual installation inside tight housings was tedious, and thin plastic film warped easily.
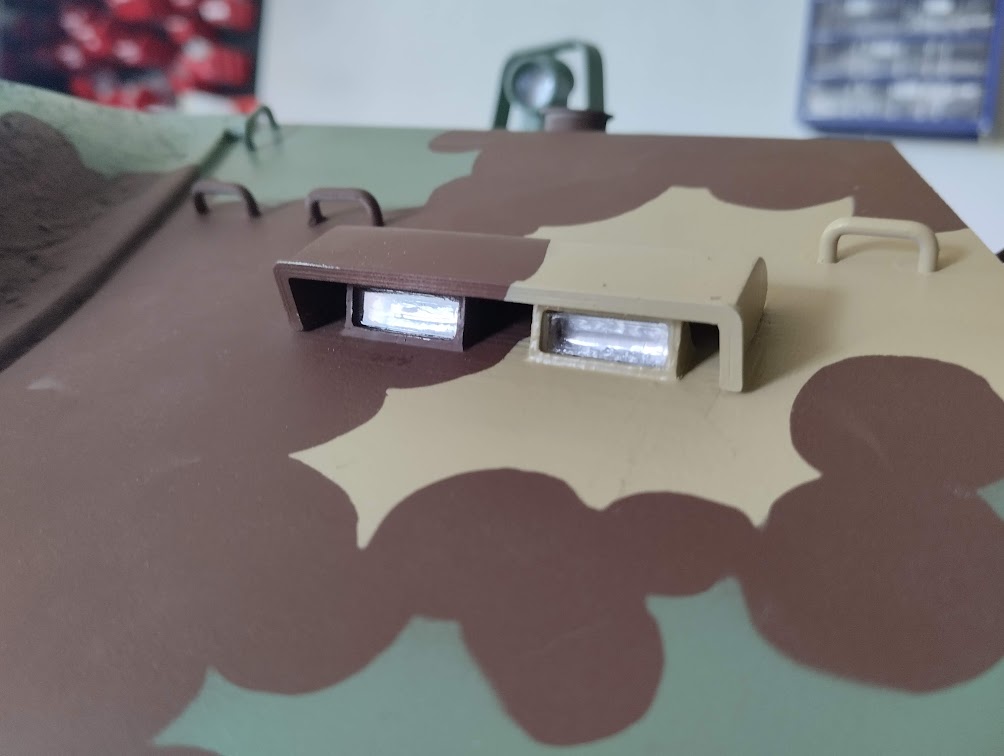
Version 3: Laser-Cut Plexiglass
- Method: Retained the aluminum foil background, but replaced thin plastic films with 1-2mm heavy-gauge, laser-cut acrylic (plexiglass) sheets.
- Verdict: The thickness of the laser-cut acrylic provided realistic edge refraction, but installing the aluminum foil behind small spaces remained unnecessarily difficult.
Version 4 (Current Standard): Real Glass Mirrors & Laser-Cut Acrylic
- Method: We replaced the aluminum tape background with small glass mirrors, paired with heavy laser-cut acrylic lenses in front.
- Verdict: The ultimate optical solution. Sunlight enters through the acrylic, bounces off the internal mirror, and creates the exact depth, shadow, and reflection seen on full-scale armored vehicles.
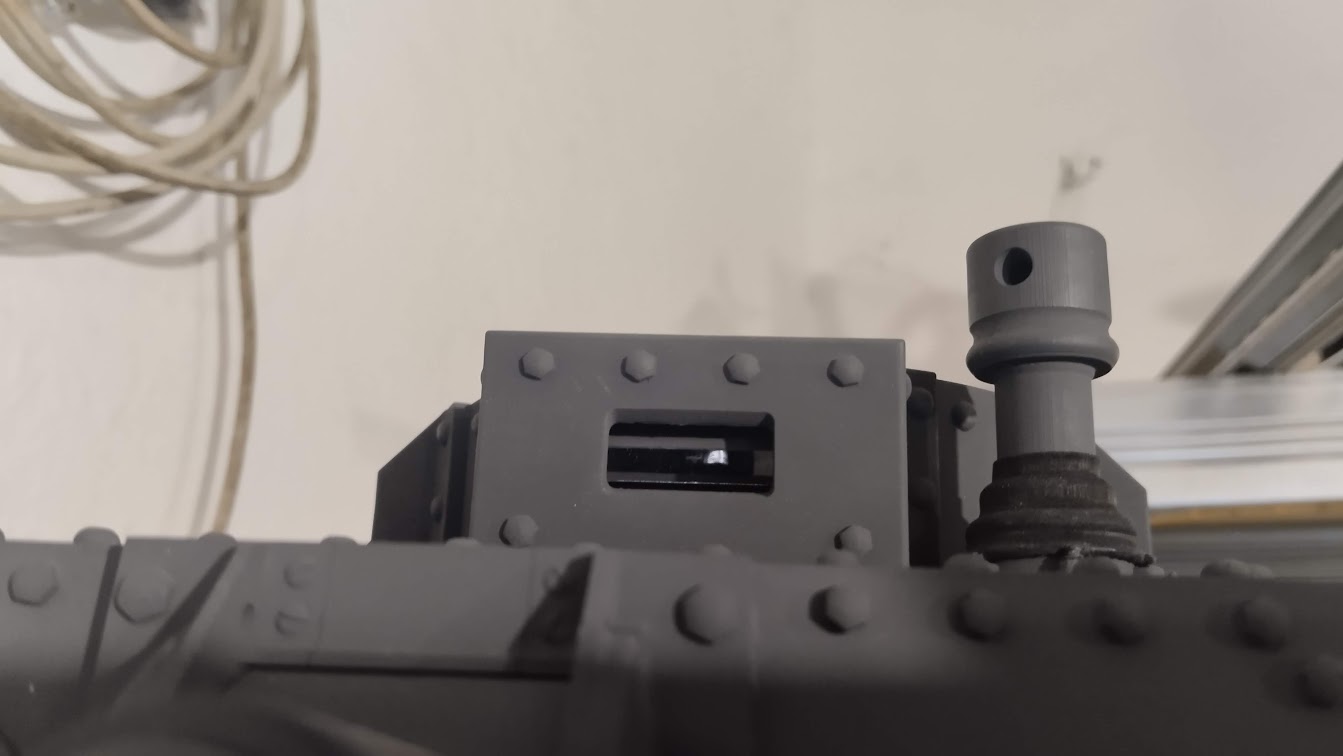
(This photo shows a specific version of the 4th-generation periscope – this tank did not have protective glass on its periscopes. But the mirror is clearly visible in the photo.)
Easier Assembly, Higher Realism
Curving or cutting circular lenses by hand from clear plastic sheets was time-consuming and imprecise.
By switching to pre-cut optical components (miniature glass mirrors and laser-cut acrylic blocks), our current design is not only the most realistic version we have ever made – it is also the easiest for the builder to install. Components drop directly into predefined slots inside the 3D-printed periscope housing.
Critical Assembly Note: Avoid Cyanoacrylate (Superglue)
There is only one strict rule when assembling these optical units: do not use standard superglue.
As cyanoacrylate cures, it releases fumes that outgas and leave a permanent, cloudy white film over the inside face of the acrylic lens and mirror. Once the periscope assembly is sealed, this haze is impossible to clean.
- Recommended Adhesive: Always use a clear, two-component epoxy.
- Application: While epoxy requires slightly more prep time and mixing than superglue, it cures completely clear with zero outgassing, preserving the optical clarity of the periscope indefinitely.
You can inspect these optical periscope assemblies across our heavy armor range in the Warprints Shop.